to save as many parts lists for boats and engines as you want. It makes reordering and costing up jobs, quick and easy!
How to Winterize an Outboard
Popular


Latest


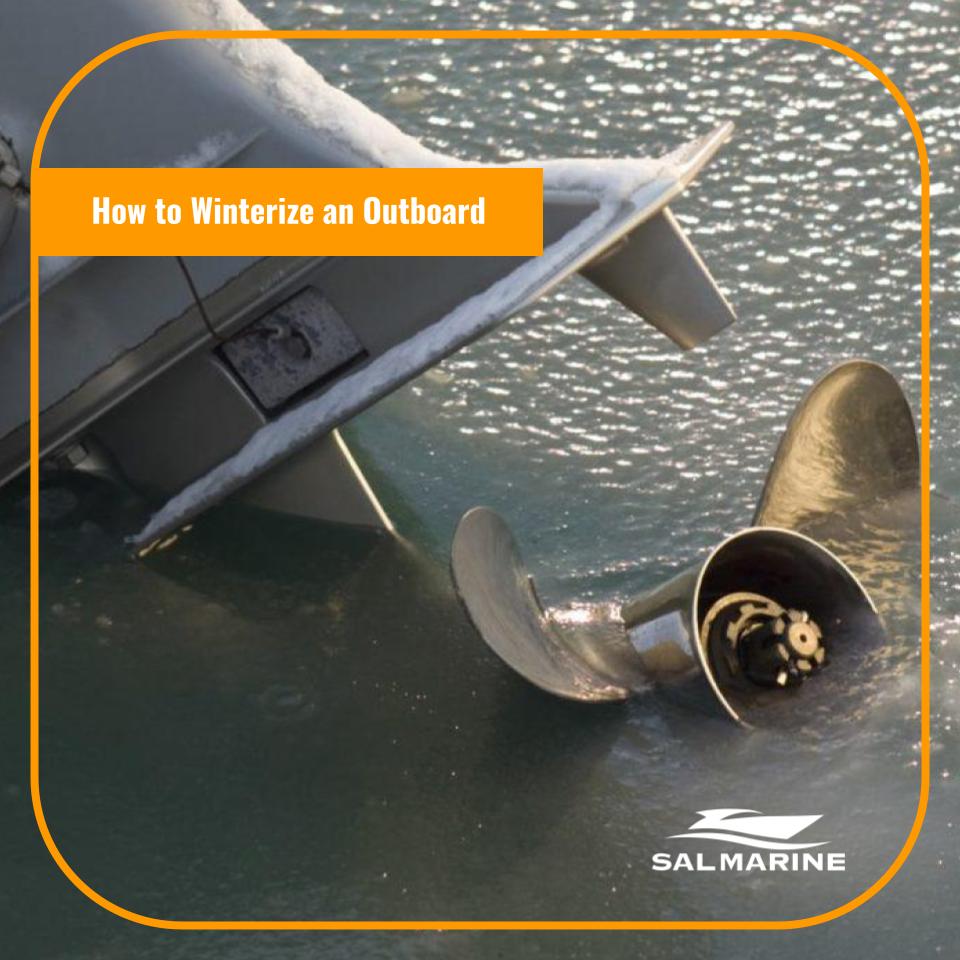
Winter is fast approaching, and for boat owners, it's time to prepare your outboard engine for the cold months ahead. Winterizing your outboard engine is a crucial maintenance task that ensures it remains in peak condition, preventing damage from freezing temperatures and corrosion. In this guide, we will discuss the reasons for winterizing your outboard engine and provide you with a step-by-step approach to help you do it effectively.
Why Winterize Your Outboard Engine?
-
Prevent Freezing Damage: The most critical reason to winterize your outboard engine is to prevent freezing damage. Water can freeze inside the engine, causing components to crack or corrode, leading to expensive repairs.
-
Avoid Corrosion: Winterizing helps protect your engine from corrosion caused by exposure to moisture and salt. Saltwater can be particularly corrosive, so it's essential to take extra precautions if you use your boat in saltwater.
-
Maintain Engine Performance: Proper winterization ensures that your outboard engine starts up smoothly and performs well when spring arrives. Neglecting this process can lead to sluggish starts and reduced engine lifespan.
-
Extend Engine Life: A well-maintained outboard engine can last for many years. Winterizing helps extend the life of your engine by keeping it in top shape, even during the harshest winter conditions.
Step-by-Step Guide to Winterize Your Outboard Engine
Now, let's delve into the step-by-step process of winterizing your outboard engine. Before you begin, gather the necessary tools and materials:
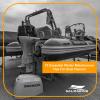
Materials and Tools:
- Freshwater flushing attachment
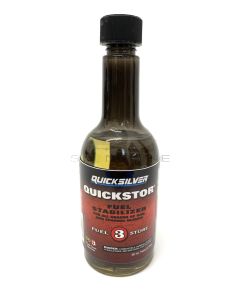
- Fuel stabilizer
- Fogging oil
- Muffs or earmuffs
- Antifreeze
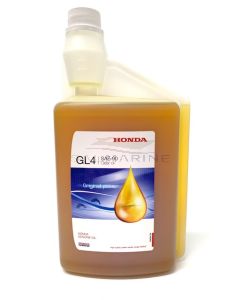
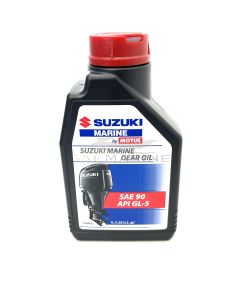
- Lower-unit gear oil
- Spark plug spanner/socket
- Screwdriver
- Socket set
- Container for used oil
Step 1: Prepare the Engine
Begin by removing the boat from the water and placing it on a trailer or suitable work surface. Make sure your engine is cool to the touch.
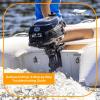
Step 2: Flush the Engine
Connect the freshwater flushing attachment to your outboard's water intakes. Start the engine and run it for a few minutes using freshwater. This flushes out any salt or debris from the cooling system.
Step 3: Add Fuel Stabilizer
Add a high-quality fuel stabilizer to your boat's fuel tank. Follow the manufacturer's instructions for the correct dosage, and then run the engine for a few minutes to allow the stabilizer to circulate through the fuel system.
Step 4: Change the Oil
Remove the drain plug from the lower unit to drain the old gear oil. Inspect the oil for any signs of water contamination, which can indicate a seal issue. Refill the lower unit with fresh gear oil, and don't forget to replace the drain plug.
Step 5: Lubricate the Engine
Remove the spark plugs and apply a small amount of fogging oil into each cylinder. This prevents rust and corrosion during the winter months. Pull the starter cord a few times to distribute the oil evenly.
Step 6: Disconnect Fuel Lines
Disconnect the fuel line and let the engine run until it stalls. This ensures that the fuel system is entirely empty and prevents any gum or varnish build-up in the carburetor.
Step 7: Drain the Engine Block
Using the manufacturer's guidelines, locate and remove the drain plugs in the engine block. Drain any remaining water from the cooling system to prevent freezing.
Step 8: Apply Antifreeze
Connect a container of antifreeze to your engine's water intakes using muffs or earmuffs. Start the engine and let it draw antifreeze through the cooling system until you see it exiting the exhaust. This ensures that the entire cooling system is protected from freezing.
Step 9: Clean and Protect the Exterior
Give your outboard engine a thorough cleaning to remove any salt or dirt. Then, apply a layer of protective wax to safeguard it from the elements.
Step 10: Store Properly
Store your boat and engine in a dry, protected area, away from direct exposure to the elements. Cover your boat with a suitable boat cover to prevent moisture and debris from entering.
Winterizing your outboard engine is a vital task for boat owners, and it's a relatively simple process when you follow the steps outlined in this guide. By taking the time to protect your engine from freezing, corrosion, and other winter-related issues, you'll ensure that it's in excellent condition and ready to go when spring arrives. Proper winterization extends the life of your outboard engine and ensures many enjoyable seasons on the water.
About the Author